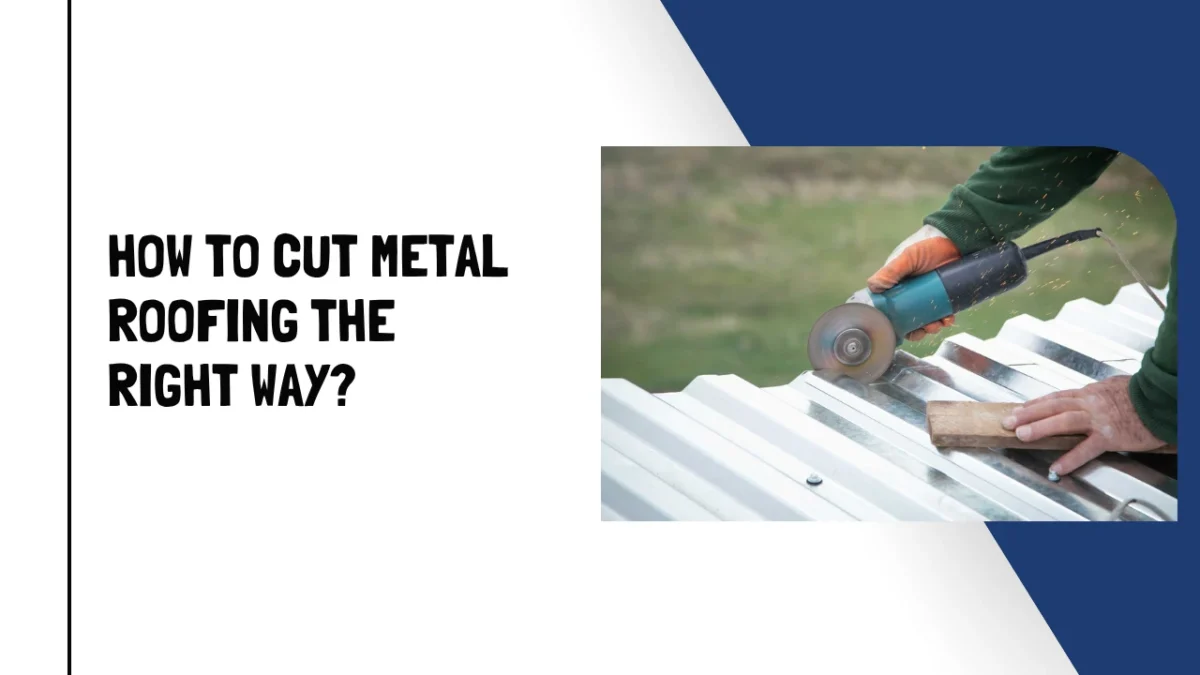
Hello guys, welcome back to my blog. Today I am going to show you how to cut metal roofing without messing up your panels or hurting yourself. A lot of you guys asked me this after my last metal roofing post, so I did proper digging on it, checked real roofer discussions on Reddit, and also went through some trusted guides to give you full picture.
Learning how to cut metal roofing is not that hard once you know which tool to use for which job. But if you pick the wrong tool, you can bend the panel, chip the coating, or hurt your hand. So in this blog, I will tell you the best tools, how to actually make the cuts, and what to do after cutting so your roof don’t rust from the edges.
Best Tools For Cutting Metal Roofing
Before we go into steps, let’s talk tools. Not every cut needs a power tool, sometimes simple hand tool does the job better and safer.
| Tool | Best For |
|---|---|
| Tin snips (aviation snips) | Flashing, trim, and short straight cuts |
| Circular saw with metal blade | Long, straight cuts on full panels |
| Power shears | Clean straight cuts with less mess |
| Nibbler | Corrugated panels and tight, curvy cuts |
| Jigsaw with metal blade | Intricate cuts around vents and pipes |
| Angle grinder with cutoff wheel | Thick gauge metal, but very sparky |
On r/handyman, one guy said, “Inexpensive handheld power metal shear will do it. I strike lines in pencil so the cut doesn’t wander.” I really like this tip, marking your line first with pencil sounds basic but it saves you from a crooked cut later.
How To Cut Metal Roofing Step By Step
Now let’s get into the actual process of how to cut metal roofing, based on the type of cut you need.
Step 1: Measure And Mark Your Line
This sounds obvious but so many people skip it. Measure twice, then mark your cut line with a pencil or chalk line so it don’t shift while you’re cutting. As per Lowe’s, you should always account for panel overlap in your measurement, at least two ribs worth for corrugated sheets, or your panels won’t line up right later.
Step 2: Pick The Right Tool For The Cut Type
For long, straight cuts, most Redditors go with a circular saw fitted with a metal cutting blade. On r/Roofing, someone shared, “I used a metal cutting blade on my skill saw last time I did this. Worked beautifully.” I think this is the fastest option if you have a lot of panels to cut.
Some people even use a normal carbide blade turned backward in the saw. A Redditor on r/DIY explained, “I’ve cut hundreds of these sheets with a skillsaw/circular saw by putting the blade in backwards. Wear ear protection though. It’s fast but also extremely loud.” Honestly this trick works, but I would only try it if you already have good ear protection on hand, because it is really loud.
Step 3: Use Tin Snips For Short Cuts And Flashing
For flashing, trim, and shorter cuts, you don’t even need a power tool. As per one comment on r/Tools, “For two 8′ cuts you can do it with snips. A pair of ‘offset’ snips will help keep the metal from pushing up towards your hand.” I think tin snips are a smart buy because they are cheap and you will always need them around the house anyway.
Step 4: Use A Nibbler For Corrugated Or Tricky Panels
If your panel is corrugated, or you need to cut in tight fiddly spots, a nibbler works better than snips. On r/handyman, someone up on a roof said, “Milwaukee m12 nibbler. A lot easier to use 16 feet up on a ladder too.” This makes sense to me, a nibbler is lighter and safer to handle when you are working up high.
Step 5: Use A Jigsaw For Curved Or Intricate Cuts
For cutting around vents, pipes, or any odd shape, a jigsaw with a metal blade gives you the most control. A Redditor on r/DIY mentioned, “Use a jig saw with a metal cutting blade; much thinner that a reciprocating saw, much more control, the fine teeth on the metal cutting blade for the most part means no deburring.” I agree with this, less deburring after means less work for you later.
Circular Saw Blade Options Compared
If you are going the circular saw route, here is a quick table so you know what you are picking up at the store.
| Blade Type | Cut Quality | Noise Level | Notes |
|---|---|---|---|
| Metal-specific carbide blade | Clean, straight cut | Moderate | Recommended by Malco Tools for standing seam panels |
| Standard carbide blade (reversed) | Good but rougher | Very loud | Fast and cheap trick, produces sharp shavings |
| Abrasive metal cutoff wheel | Rough edge, heat build up | Loud, lots of sparks | Better for thick gauge, not for finish work |
After You Cut: Edge Treatment Matters
This part gets skipped a lot, but it is important if you want your roof to last. Cut edges on galvanized or galvalume panels expose bare metal, and that can start to rust over time.
On r/DIY, one comment pointed out, “Technically you should apply a rust converter containing zinc to the cut edges.” My honest opinion, this extra step takes just few minutes but can add years to your panel edges, so please don’t skip it.
Safety Tips When Cutting Metal Roofing
I want to add this part because cutting metal roofing throws off sharp shavings, sparks, and loud noise, all at same time. As per ABC Metal Roofing, protective eyewear with side shields is needed to stop metal shavings and flying debris from reaching your eyes, and clean leather gloves give the best protection against sharp cut edges.
On r/DIY, someone warned, “Wanted to mention, eye protection is absolutely necessary for this. Tiny shards of metal fly about, sparks fly.” I 100% agree, please don’t skip your safety glasses even for a quick cut.
| Safety Item | Why It Matters |
|---|---|
| Safety glasses with side shields | Stops metal shavings and sparks from reaching eyes |
| Ear protection | Circular saw cutting metal is very loud |
| Leather work gloves | Protects hands from sharp cut edges |
| Long sleeves | Keeps hot shavings off your skin |
| Stable ladder or lift | Metal gets slippery, footing matters a lot |
Quick Facts Table
| Fact | Detail |
|---|---|
| Cheapest cutting tool | Tin snips, good for short and flashing cuts |
| Fastest for long cuts | Circular saw with metal blade |
| Best for corrugated panels | Nibbler attachment |
| Best for curves and vents | Jigsaw with fine metal blade |
| Edge rust risk | Bare cut edges need zinc rust converter treatment |
Common Mistakes People Make
| Mistake | Why It’s A Problem |
|---|---|
| Not marking cut line first | Cut wanders, panel looks messy |
| Using wood blade on metal | Blade wears out fast, unsafe kickback risk |
| Skipping ear and eye protection | Sparks and shavings can cause real injury |
| Ignoring cut edge treatment | Bare edges rust faster over time |
| Using snips on long straight runs | Slow and tiring, wrong tool for the job |
Frequently Asked Questions
Q: What is the easiest way to cut metal roofing at home? A: For short cuts and flashing, tin snips are the easiest and cheapest option. For long panels, a circular saw with a metal cutting blade is faster.
Q: Can I use a normal wood blade to cut metal roofing? A: No, you should always use a metal-specific blade, or a carbide blade installed backward, never a regular wood blade.
Q: Do cut edges on metal roofing need any treatment? A: Yes, bare cut edges can rust over time, so applying a zinc rust converter is a smart extra step.
Q: Is cutting metal roofing loud? A: Yes, especially with a circular saw, so ear protection is a must along with eye protection.
Q: What tool is best for cutting curves in metal roofing? A: A jigsaw with a fine metal cutting blade gives the most control for curves and cuts around vents or pipes.
Final Words
So guys, that was my full guide on how to cut metal roofing, from picking the right tool, to making the cut, to taking care of the edges after. I tried to keep this simple and back it up with real roofer opinions from Reddit along with proper guides, not just my own guess work. My honest advice, match your tool to your cut type, wear your safety gear, and don’t skip the edge treatment. Keep on visiting Write for Us Roofing for more guides like this.
Sources
- r/handyman – Power shear tip comment (Reddit)
- r/Roofing – Metal blade on skill saw comment (Reddit)
- r/DIY – Reversed blade loud comment (Reddit)
- r/Tools – Offset snips comment (Reddit)
- r/handyman – Nibbler on ladder comment (Reddit)
- r/DIY – Jigsaw control comment (Reddit)
- r/DIY – Rust converter comment (Reddit)
- r/DIY – Eye protection warning comment (Reddit)
- Lowe’s – How to Cut Metal Roofing
- Malco Tools – Metal Cutting Circular Saw Blade
- ABC Metal Roofing – PPE for Safe Metal Roof Installation